Step-by-Step Guide to Creating Stunning 3D Architect Visualizations
Creating visually stunning 3D architectural visualizations has become an essential part of the design and construction process. These digital representations allow architects, designers, and clients to visualize spaces before they are built, helping to identify potential issues and make informed design decisions. In this step-by-step guide, we will explore the process of creating stunning 3D architect visualizations, from the initial concept to the final render.
1. Define the Project Scope and Goals
Before starting any visualization project, it is important to clearly define the scope and goals. Understand the purpose of the visualization – whether it is for marketing, design development, or client presentations. This will help determine the level of detail required and the overall style of the visualization.
2. Choose the Right Software
Choosing the right software is crucial for creating stunning 3D architect visualizations (also known as ‘3d arkitekt visualisering’ in the Danish Language). There are several options available, each with its own strengths and weaknesses. Some popular software choices include Autodesk 3ds Max, SketchUp, and Blender.
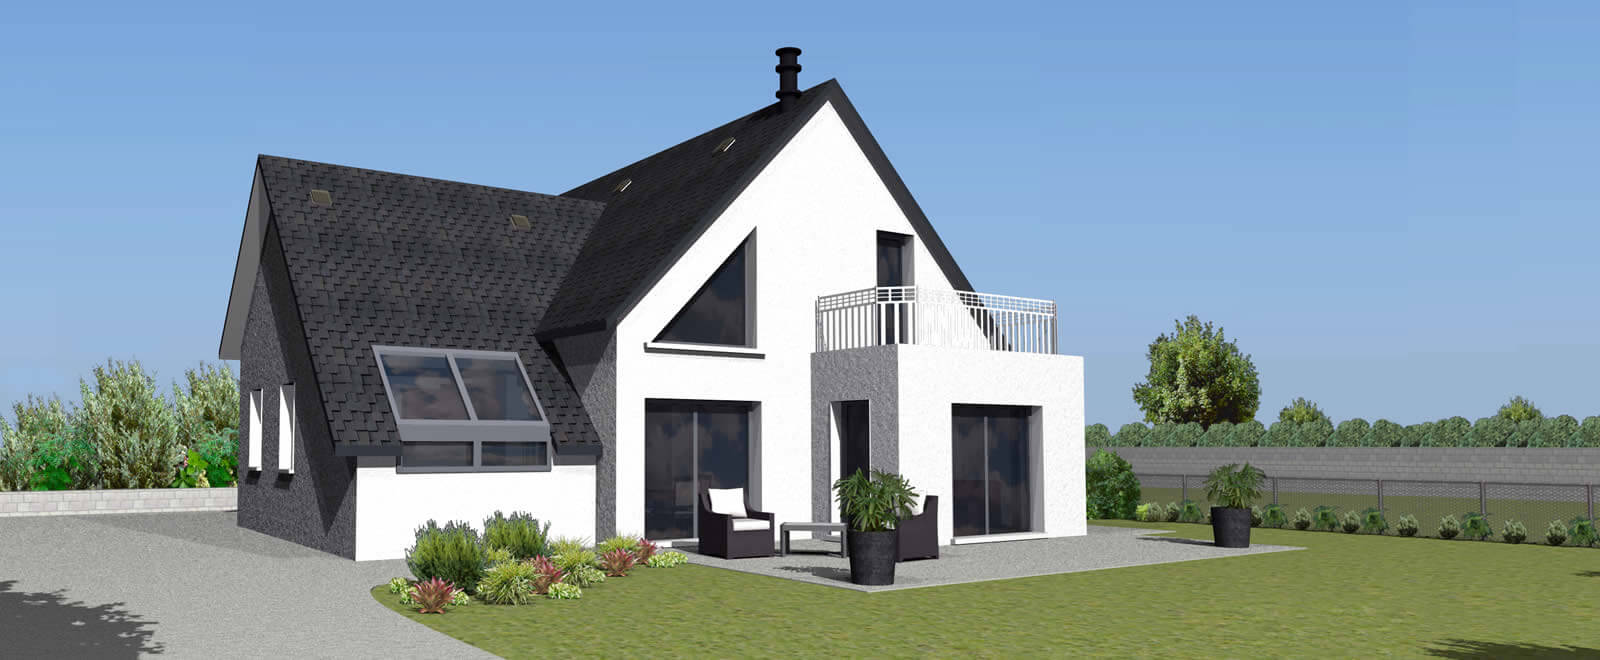
Image Source: Google
3. Gather Reference Materials
Before diving into the modeling process, it is important to gather reference materials. These could include architectural drawings, mood boards, photographs, and even physical samples of materials. Reference materials help ensure accuracy and provide a visual guide throughout the modeling and texturing process.
4. Start Modeling the Scene
Once you have gathered all the necessary information and reference materials, it is time to start modeling the scene. Begin by creating the basic architectural elements, such as walls, floors, and ceilings. Pay attention to the proportions and scale to ensure accuracy.
5. Apply Materials and Textures
After modeling the scene, it is time to apply materials and textures to the elements. This is an important step in creating realistic and visually appealing visualizations.
6. Set Up Lighting
Lighting plays a crucial role in creating stunning 3D architect visualizations. It helps set the mood, highlight important features, and bring the scene to life.