The Ultimate Guide To Macbook Air Screen Repair
When it comes to repairing a Macbook Air screen, you want to make sure you are doing it right. This ultimate guide to Macbook Air screen repair will help you get the job done quickly and efficiently. If are searching for Macbook Air repairs then, you may pop over to this website .
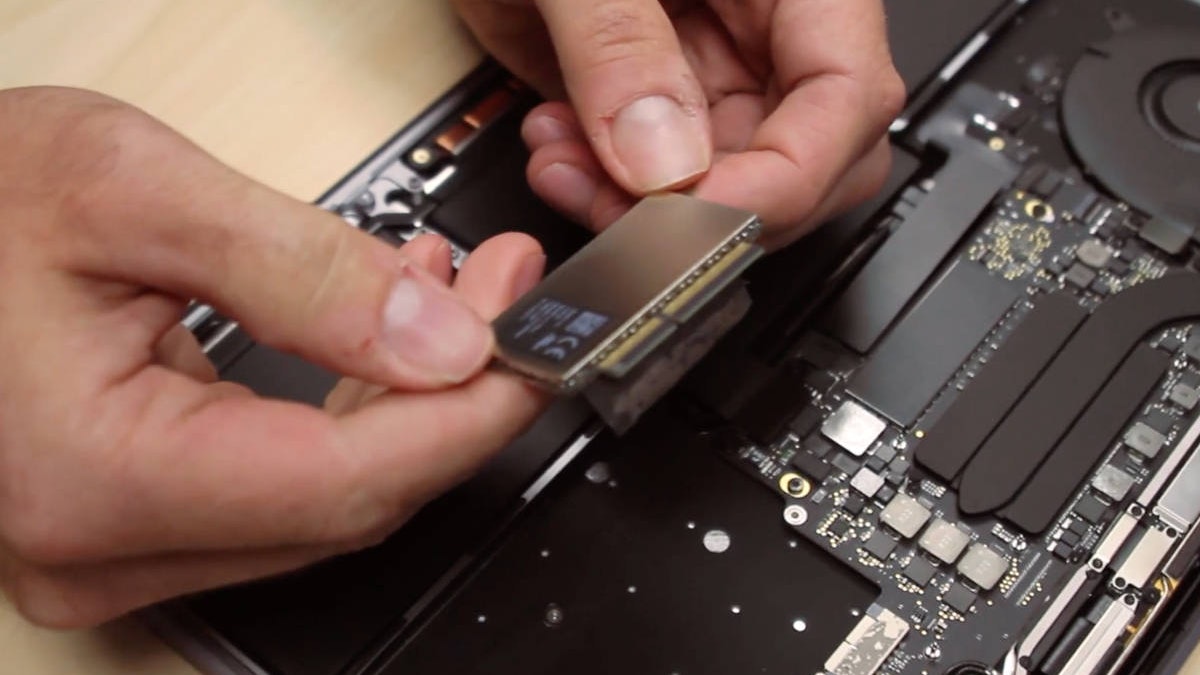
Image Source: Google
The first step in the process is to turn off and disconnect it from any power source. You will then need to remove the back panel to access the internal components. Depending on the model of your Macbook Air, this may require a Phillips head screwdriver or a Torx screwdriver.
Once the back panel is off, you should locate the LCD panel. This is usually located near the top of the device. Carefully disconnect the LCD panel from the logic board. This is done by removing the screws that hold the panel in place.
Next, you will need to disconnect the video cable from the logic board. This can be done by lifting the cable tab up and gently pulling the cable away from the board. Once the cable is disconnected, you can start the process of replacing the screen.
The screen replacement process is fairly straightforward. After disconnecting all of the components from the logic board, you will need to attach the new LCD panel to the board. Once this is done, you can connect the video cable and any other components that were previously disconnected. Finally, you will need to reassemble the Macbook Air.